

Go back to Product Documents Navigation
Go back to Joyfrog Documents Navigation

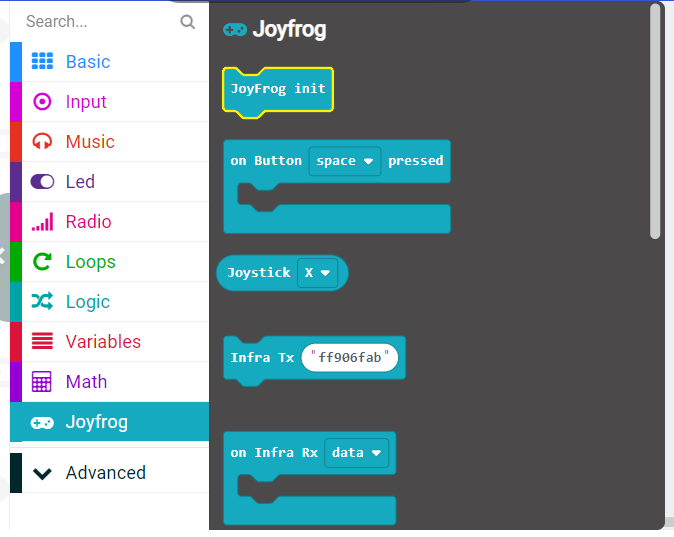
Load JoyFrog Extension: kittenbot/pxt-joyfrog
Blocks for JoyFrog:
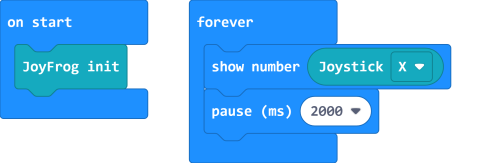
Using the Analog Stick:
Showing the value of the stick’s position.
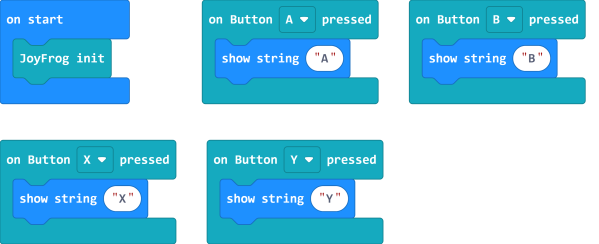
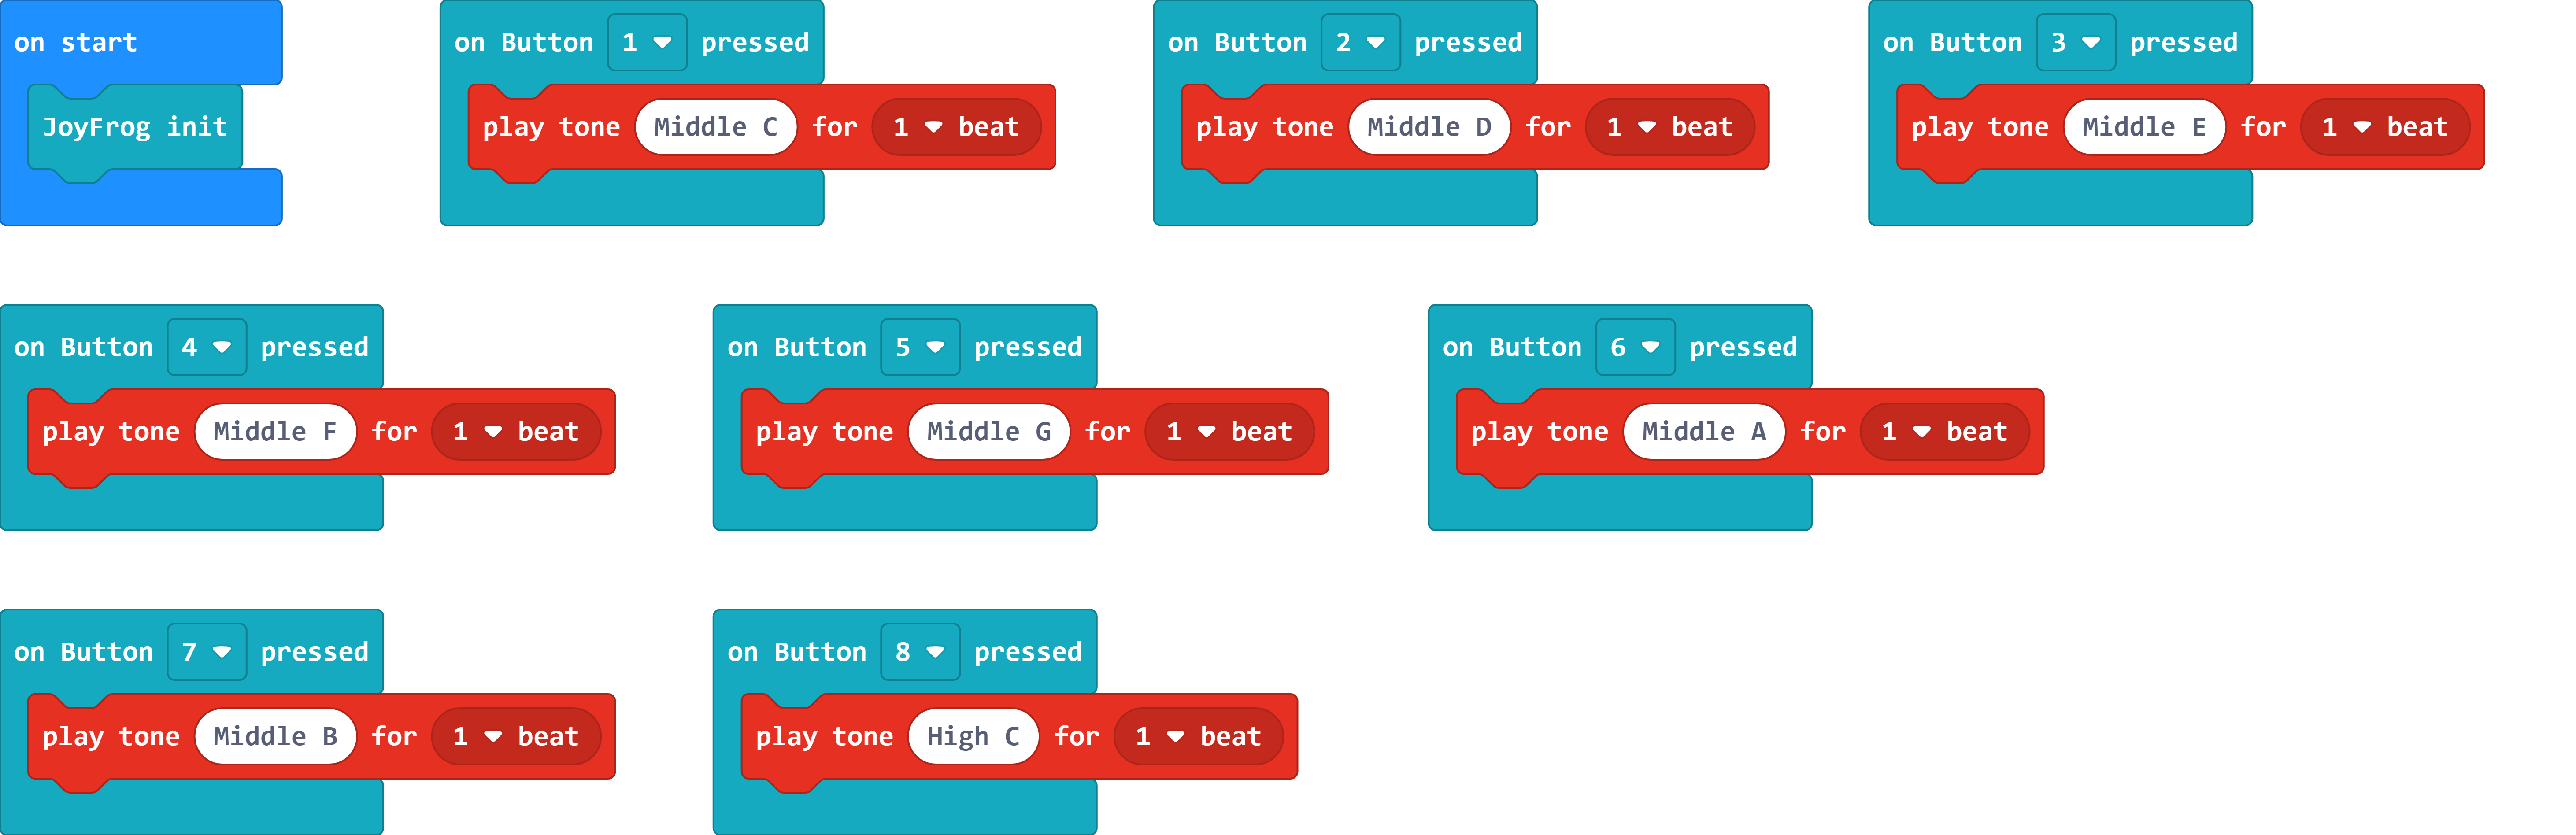
Using the buttons:
Each button can be individually triggered.
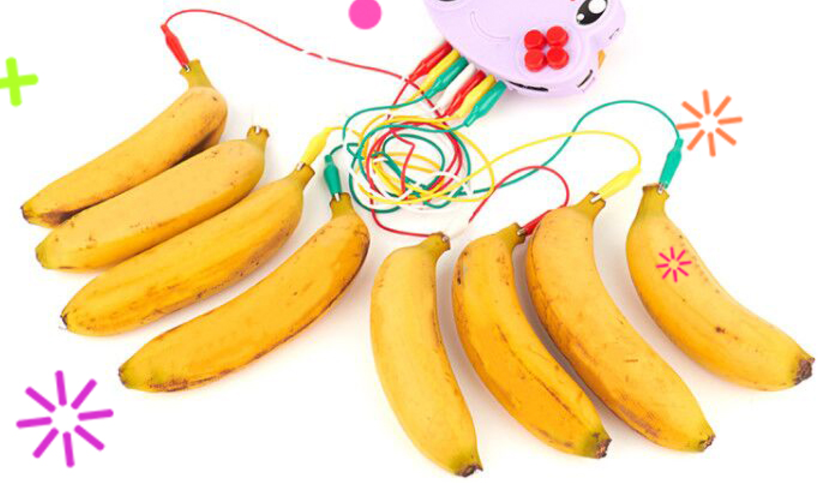
Using the IO pins.
The Edge Connectors on JoyFrog can be used like a piano.
Try Connecting different conductive objects to create your unique piano!
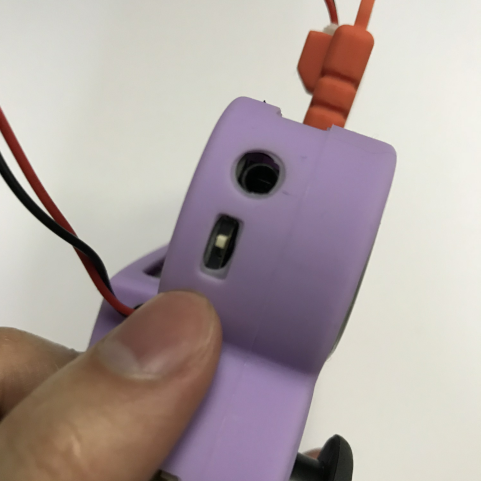
You can connect earphones or speakers to the 3.5mm audio jack.
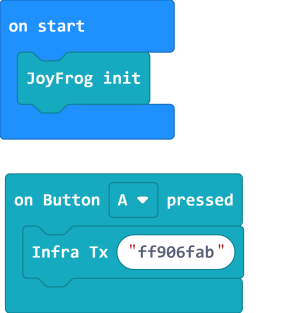
Transmitting an InfraRed signal:
Transmitting an InfraRed signal on button press.
The infrared signals are in a hexadecimal format.
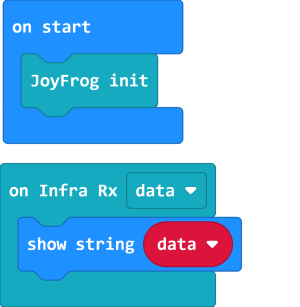
Receiving an InfraRed signal:
Displaying the received signal.
The infrared signals are in a hexadecimal format.
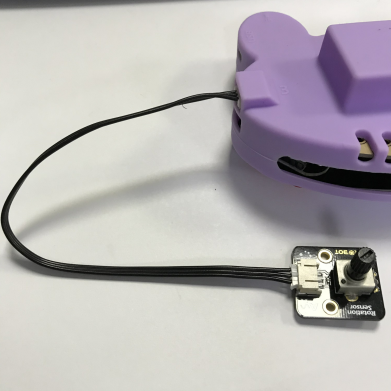
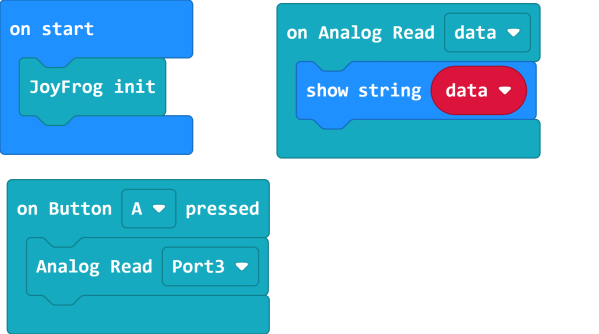
Analog Read:
Reading analog values.
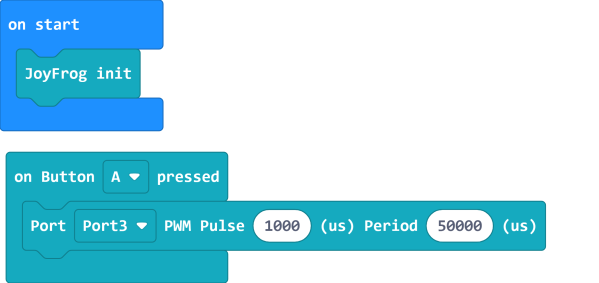
Analog(PWM) Write:
Writing analog(PWM) values.
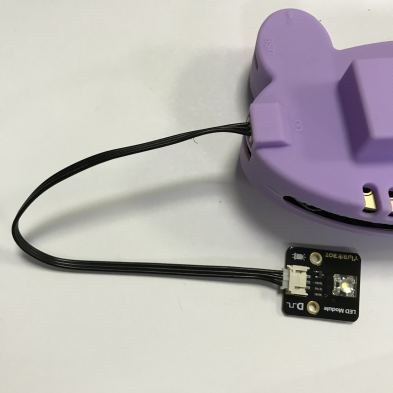
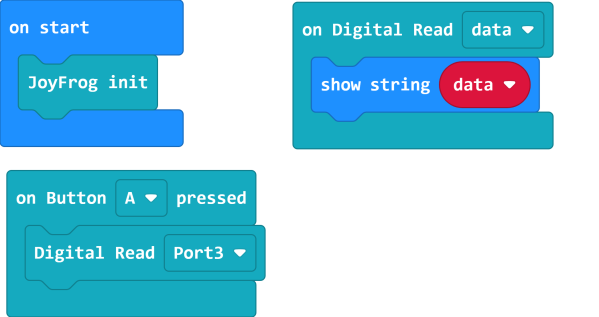
Digital Read:
Reading digital values.
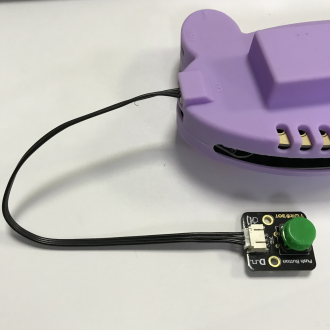
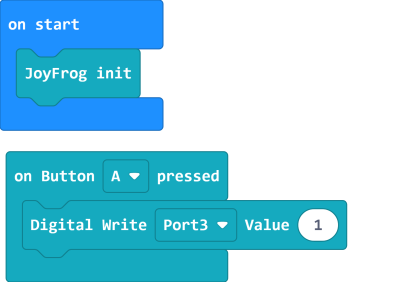
Digital Write:
Writing digital values.
If you have any question, please feel free to contact us at Discord, we will always be there to help.
KittenBot Team