

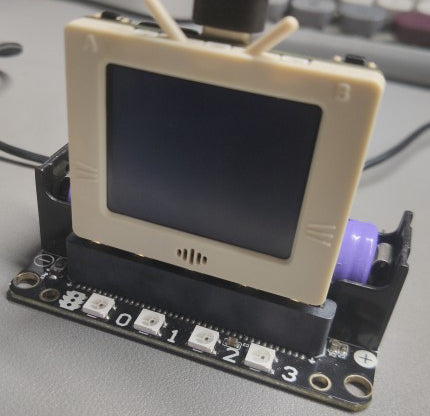
The Robotbit expansion board not only extends some IOs of the Future board with DuPont pins, but also has a motor and a servo drive on the board. So in this tutorial, we will learn to make servos and motors work.
Programming Blocks
|
Block |
Introduction |
|
|
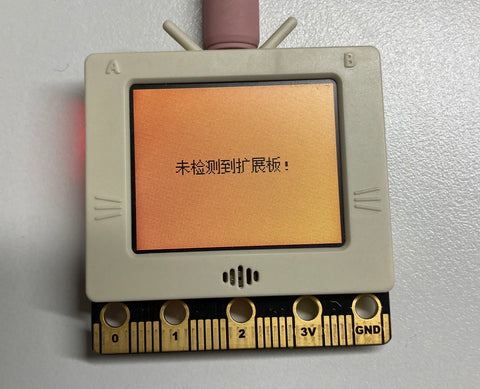
Establish the Robotbit's IIC communication. It must be initialized before use. |
|
|
Set the speed of the motor (positive and negative determine the direction of rotation) |
|
|
Stop all motors |
|
|
Set the angle of the blue 9g motor (from 0 to 180 degrees) |
|
|
Set the angle of the 9g geekservo motor (from -45 to 225 degrees) |
|
|
Set the angle of the geekservo 2kg motor (from 0 to 360 degrees) |
|
|
Make the stepper motor rotate according to the angle (positive and negative determine the direction of rotation) |
|
|


Example
|
📋: Drive the motor
Wiring

Program
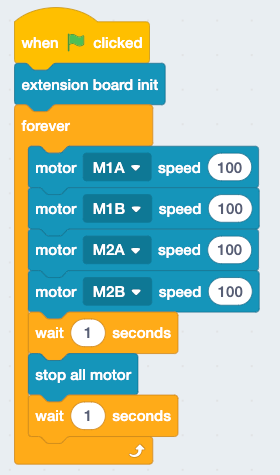
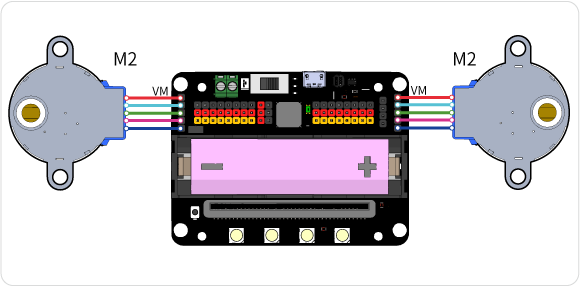
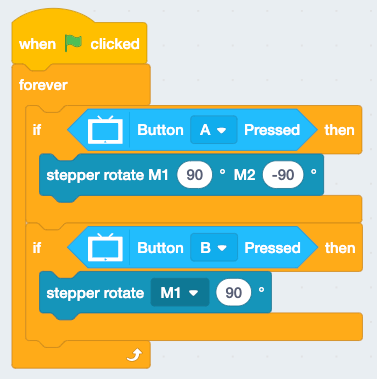
📋: Drive the stepper motor
Wiring
Program
📋: Drive the geekservo 9g motor
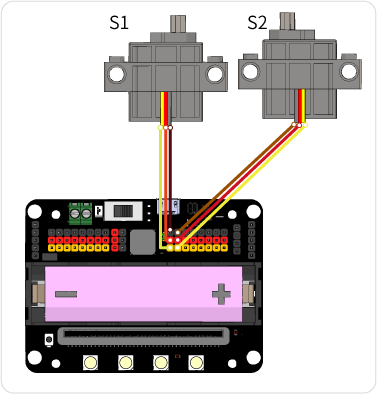
Wiring
Program

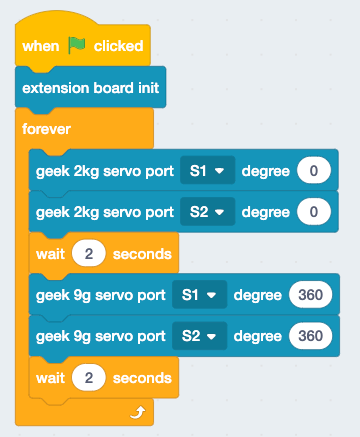
📋: Drive the geekservo 2kg motor
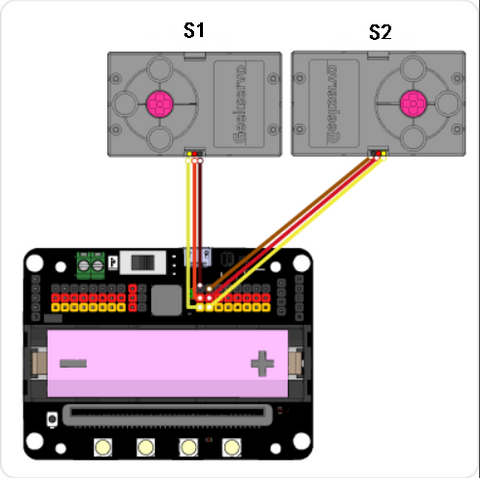
Wiring
Program
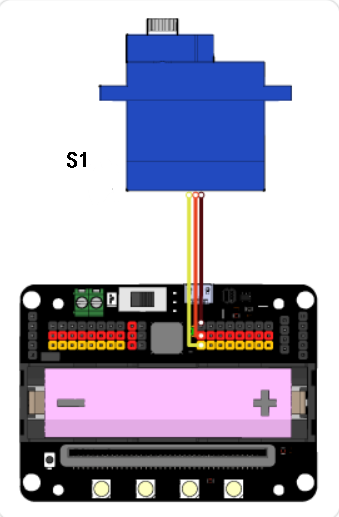
📋: Drive the blue 9g motor
Wiring
program

If you have any question, please feel free to contact us at Discord, we will always be there to help.
KittenBot Team