

Go back to Product Documents Navigation
Go back to Joyfrog Documents Navigation

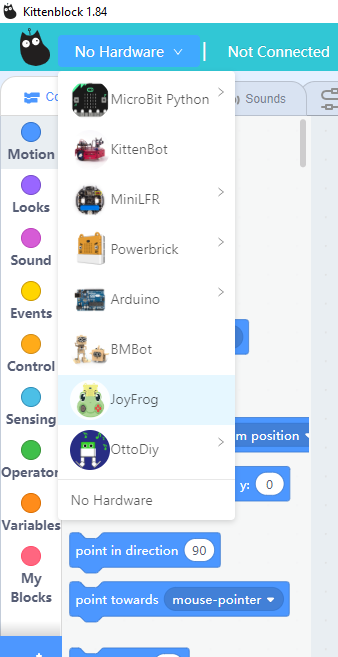
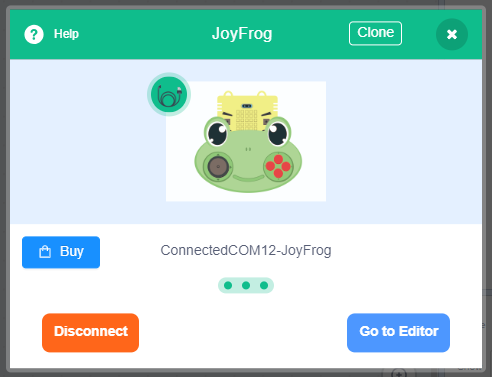
Connect JoyFrog to a computer with a USB cable.
Select JoyFrog from the Hardware selection menu.
The programming blocks for JoyFrog will be added.
Click the Exclamation Mark Icon and select your device.
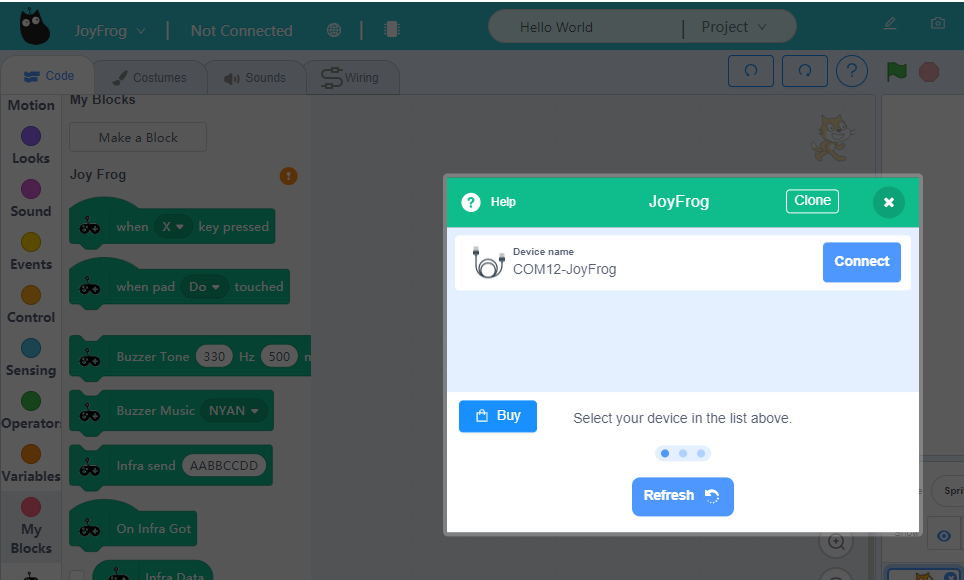
A melody will sound when JoyFrog is connected to Kittenblock.
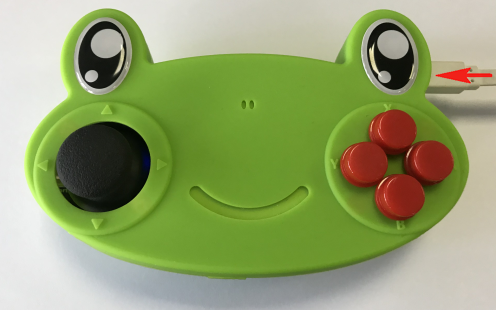
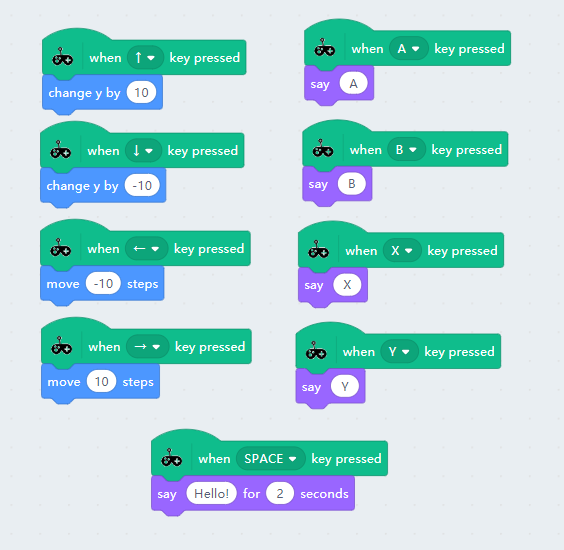
Using the buttons and the joystick:
The buttons and the joystick input is mapped to individual keyboard keys.
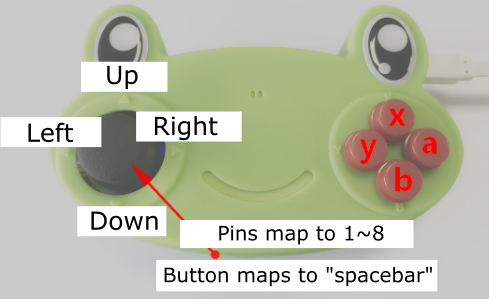
The edge connectors are mapped to the number keys.
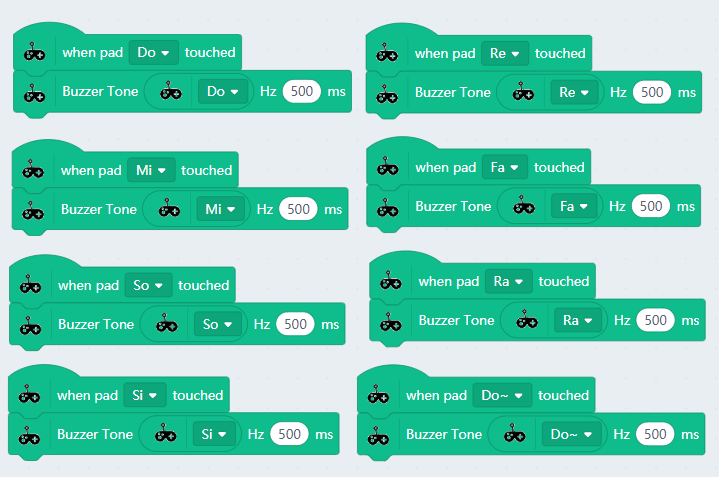
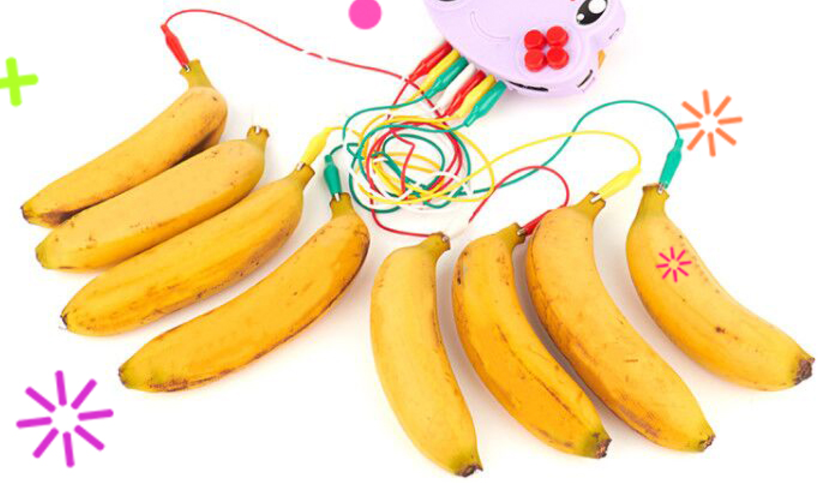
Making a Piano:
We can make a basic piano using the edge connectors.
Try connecting different conductive objects to create your own unique keyboard!
The notes correspond to numbers 1~8.
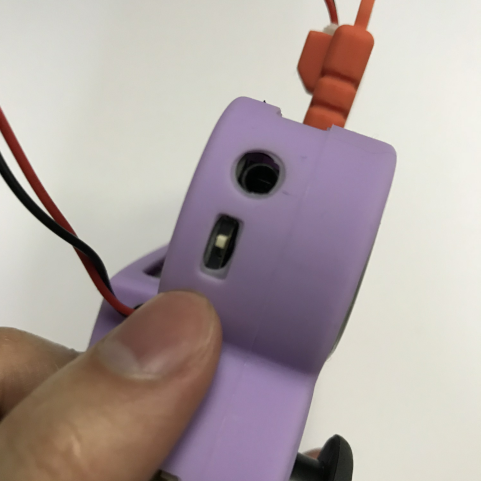
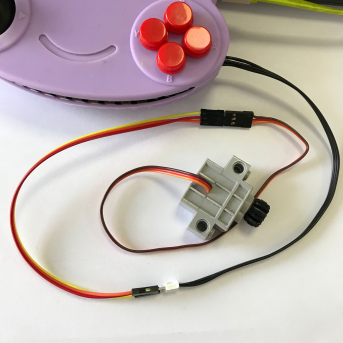
You can connect earphones or speakers to the 3.5mm audio jack.
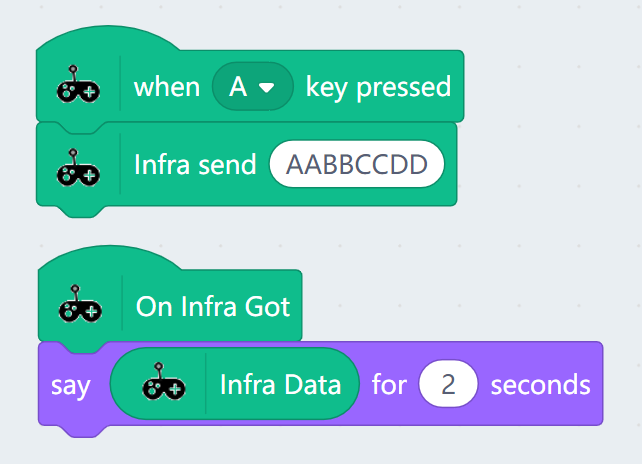
InfraRed Trasmission and Receive:
Transmitting and receiving an infrared signal.
The infrared signals are in a hexadecimal format.
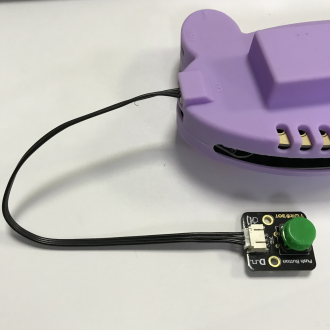
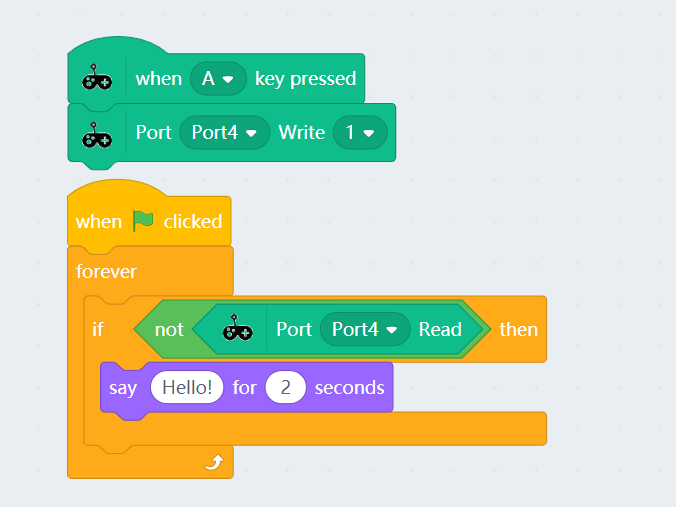
Digital read and write:
Reading and writing digital values.
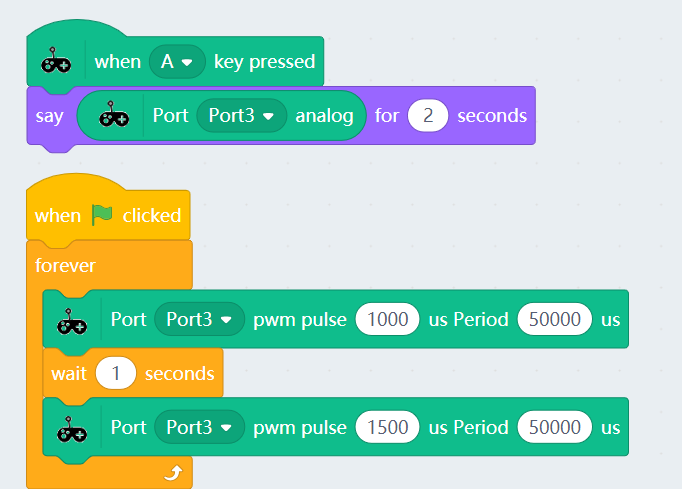
Analog read and write:
Reading and writing analog(PWM) values.
If you have any question, please feel free to contact us at Discord, we will always be there to help.
KittenBot Team